
The 4 "phase inspections" of new construction

One of the benefits of purchasing a new construction home is being able to oversee the construction and head off major issues during construction that could be extremely expensive to repair retroactively. Often times the builders' representatives will tell you that they have their own inspectors, and that you don't "need" this. I'm here to tell you that you do, because I have seen time and time again after being told that that the inspector finds dozens of outstanding deficiencies.
Here we will discuss the 4 phases:
Phase 1: The Pre-pour foundation inspection.
This inspection is completed after the earth under the structure has been excavated and graded and before the foundation has been layed, but the concrete has not yet been poured. Inspection items include the footings and foundation walls, water into and sewer out of the dwelling, electrical work into the interior of the dwelling, inspect the vapor barrier for gaps and tears, inspect the beams for cave-ins, water and foreign material, and pay close attention to the reinforcement. Most foundations are post-tensioned tendons mixed with rebar and these components have very specific requirements for installation.
This is super important, because once the foundation is poured, it is a massive under-taking to repair any of it. It's also especially important in central Texas, and especially especially East of the Balcones Fault where the soil changes drastically and suddenly from thick limestone to black soil, as this area is more susceptible to shifting Earth that can damage the foundation and have huge financial implications.
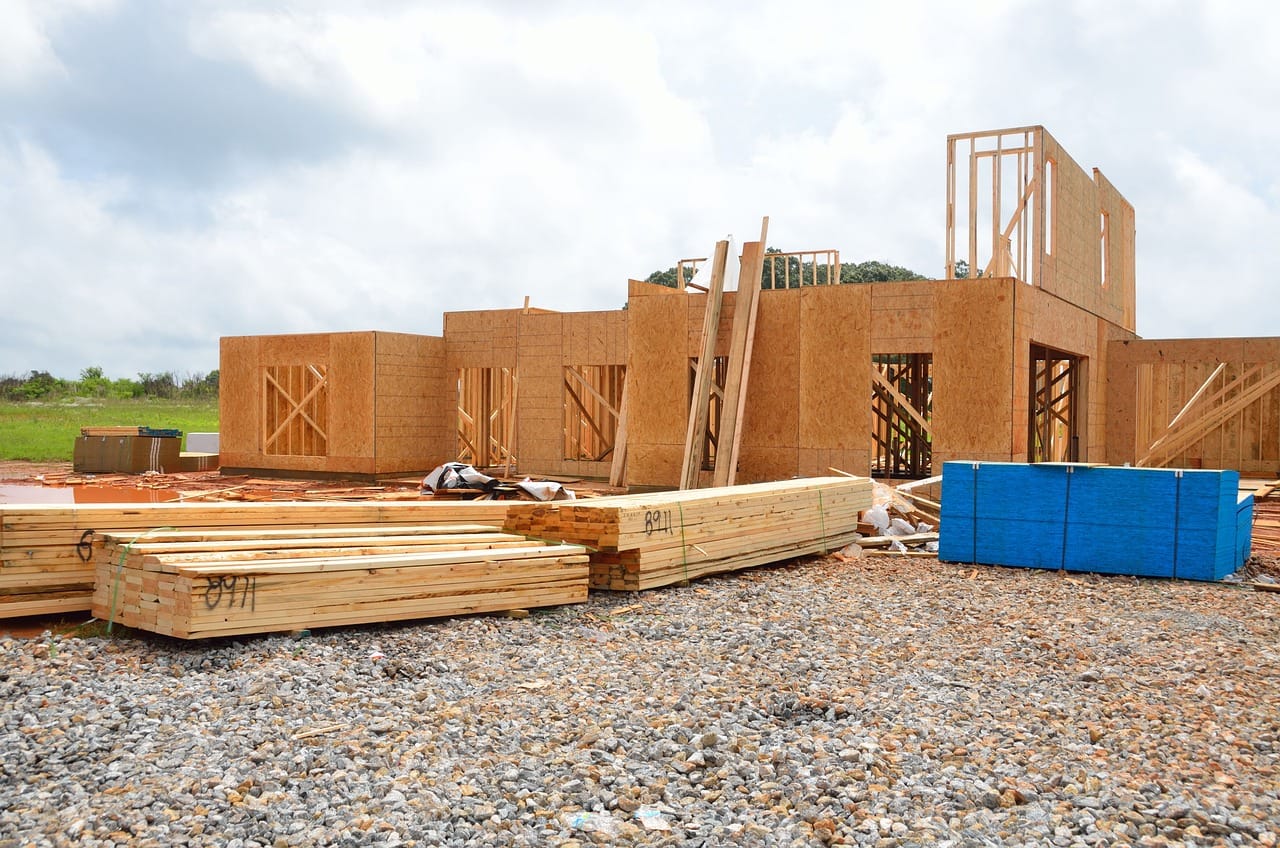
Phase 2: The pre-drywall inspection.
This allows your inspector to get a good look at plumbing, HVAC ducts and wiring in the walls to make sure it's installed correctly before they're obscured and made invisible by the drywall. They'll also inspect the exterior structural sheathing and associated weather barrier, masonry, door, window and roof flashing, roof rafters and trusses, and look for any exposed tendons in the foundation.
They'll also take photos of the interior to document locations of studs, joists, wires and pipes, which can be valuable in the case of future repairs or remodeling, and could increase the resale value to the right buyer.
Phase 3: The pre-closing inspection.
This is similar to a resale inspection, as it is comprehensive. It is likely there will be many remaining items. It's also a good time to double-check to ensure previously discovered deficiencies have been properly repaired.
Sometimes the builder will push back on these items, as they will be in a hurry to close. They will tell you "you have a warranty, we'll fix it after you close". Depending on the severity of the deficienc(ies) you may want to push back on that, as the builder has far less pressure to fix them after closing in a timely manner (or at all).
Ideally this is completed 1-2 days prior to your "blue tape" walk-through (the one where you mark aesthetic items with blue tape).
Phase 4: The Warranty inspection.
This should be completed just prior to your 1-year warranty expiration. It will be the same as the last inspection (comprehensive). This ensures that any repairs that should be covered under warranty are properly documented as being present before the warranty expires. In this way, the builder is still obligated to complete the repairs even after it does.
If you're looking for an inspector to hire, you can find some local ones on my vendor list!